Thursday, June 30, 2011

La nostalgie - Madeleines


France is a long long way from Sydney. We do great food, but not everywhere.  We are passionate about food, but not consistently.  France is a great place to eat - they are so proud of their food heritage, and unlike many other places, they are not best pleased to see it being updated, modified or given a new 'twist'. I have more praise for this now, with a few years behind me than I did as a 21 year old Erasmus student in Grenoble when I thought it was a little backward that every Patisserie sold the same things.  They fight for the traditional because it has already taken its journey in order to get to that point, and it is beauty in its simplicity.


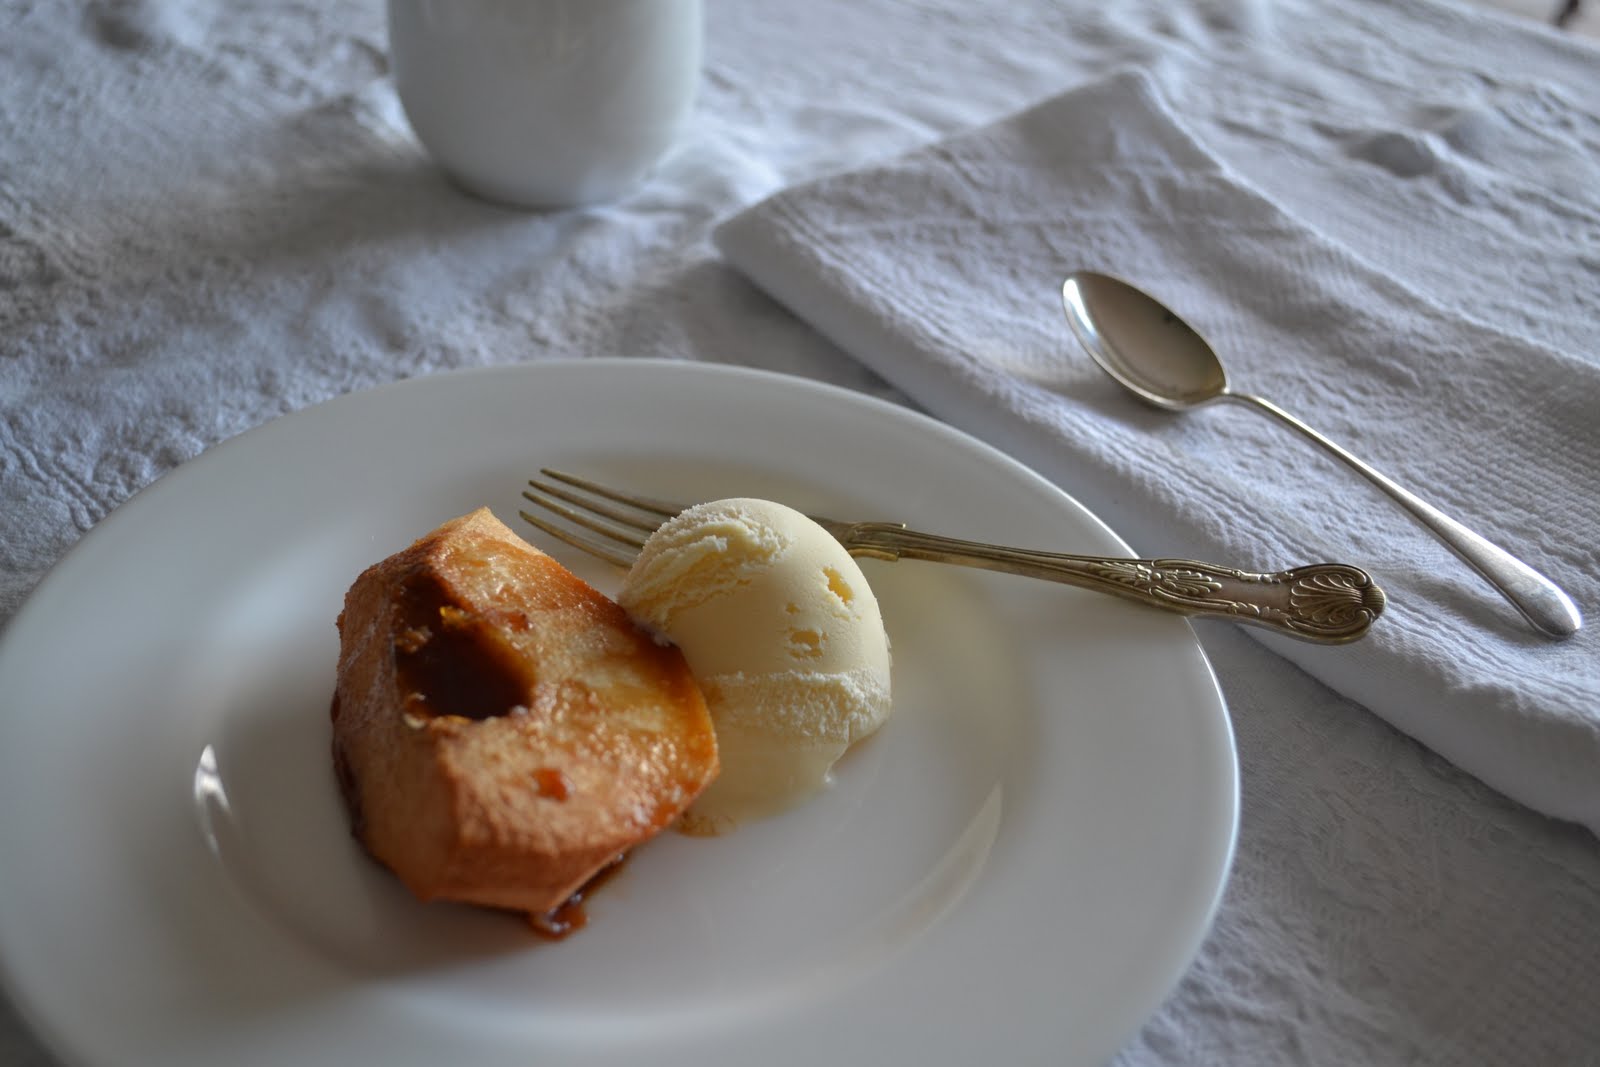
Madeleines are exactly this, cherished for their simple lemony elegance.  Another thing that I hadn't realised I missed until I bought this month's French Issue of Gourmet Traveller.  Oh how I love this magazine. It takes me far away from my Sydney life with its beautifully written and photographed food stories. Madeleines are perfect addition to a breakfast or a morning tea - a light but very moorish sponge, the batter needs to be rested overnight, but they take less than 10 minutes to bake.  The tins are not widely available, but gave me a great excuse to pop to The Essential Ingredient in Rozelle yesterday, heaven for foodies like me.


Please excuse me for 'modifying' the recipe a little - for want of lemons in our household, I used half lemon zest and half lime zest.  Hopefully the french will not slap my wrists too much for that little changement. I loved seeing the tiny flecks of green through my madeleines though.  They're a bit generous, something I'll rectify next time by only just filling each hole in the tin, rather than piling the batter in.


Bon appétit!

Tuesday, June 21, 2011

Jerusalem artichoke & bacon soup


I'm a soup-a-holic the whole way through winter. I prefer to make my own, I like to know what's in my food these days, and that they aren't full of 'fillers.

This jerusalem artichoke soup is full of nostalgia for me, Mum used to prepare it for us whenever we saw jerusalem artichokes in the shops or supermarkets. They aren't really widely used, and are a little bit hard to get.  They also involve a bit of preparation - the are knotty and gnarly, quite like ginger, but as they are a root vegetable they can get quite dirty.  I washed them and focused on removing the darkest/dirtiest areas by peeling them.

I've just done a quick wikipedia search on them - truly enlightening! They are from the Eastern part of the United States and were first eaten by the American Indians. They are also sometimes called sunroot, sunchoke, earth apple or topinambour and are part of the Sunflower family. There is no connection to either Jerusalem or the artichoke family, and it is not fully known why the name Jerusalem has been given to this tuber.

Jerusalem artichokes have a beautiful nutty flavour, something that is so much more intense and sweet than a traditional or sweet potato. In fact, I'm sure this soup would be fairly bland if traditional potatoes were used. Bacon adds a lovely salty flavour to everything, but I'm sure it could be left out or replaced with extra parsley if you are after a vegetarian version. Keep your eye out for Jerusalem artichokes - they are a winter-only vegetable in Australia and won't be around for much longer.

Unwashed Jerusalem artichokes
Ingredients:
1kg Jerusalem artichoke, peeled and sliced
1 brown onion, chopped
2 rashers bacon, chopped
2 celery stalks, chopped
600ml chicken or vegetable stock
600ml milk
1 Tbs fresh parsley, chopped
50g butter
Salt and pepper to taste
4 Tbs cream (optional)


Method:


Melt the butter in a medium heat pan, then add the Jerusalem artichokes, onion, bacon and celery. Fry these off for about 8 minutes, making sure to keep them moving in the pan. Then stir in the milk, stock and parsley and simmer for half an hour. Using a stick blender, bring to a smooth consistency, and add the cream (if desired).
Serve with parsley and pepper.


Post washing & peeling
Frying off the core ingredients
My soup friend - Cuisinart stick blender


Thursday, June 16, 2011

Favourite Things

A lolly counter!


It takes a lot of time to organise cooking a new dish for Heavenly Ingredients. Not something I mind, but it starts with brain storming what I'm going to cook, who is going to eat it, writing the ingredients on a shopping list, hitting the shops, making or baking the recipe, shooting it and then posting. Quite a few hours of work.

Until now I've been more than happy to do that a few times a week. I'm passionate about the whole process, doing the research and deciding what to try out. I've got many lists floating around at home titled 'Recipes for June' - hopefully I'll complete them all. I also love trying to find the unusual ingredients, tamarind paste, palm sugar, rosewater, spelt flour, special sugars and dried (real!) cherries to mention a few that have been on the list recently.
The jar with cookie cutters in it would look great in a kitchen

Everything for baking cupcakes


This morning I was reading Fat Mum Slim's blog on ways to banish blogger's block. It hit home that in order to create a blogpost I don't necessarily need to go through this whole process. When I'm out an about with the little one each day I get so much inspiration from the small things I see, and that also feeds into what I decide to make in the kitchen that day.

How cute are these milk bottles!

So, with a little help from Instagram and my iphone, I got snapping as I was out in Dee Why this morning running a few errands. Favourite Things is a breath of fresh air in the bustle of the Dee Why bric-a-brac. They have a great and ever changing range of vintage inspired items for the kitchen and home, and lots of baby gifts, most of which you don't see in other gift shops. They also have a cafe with tables and armchairs dotted around the shop. Yummy Toby's Estate coffee too. A fun place to spend an hour or so.


The most amazing splashback

So many old fashioned sweets to choose from, and GIANT speckles!

These vintage-style bottles would look darling anywhere around the home

Old-fashioned measuring jugs

Hanging jars, perfect for tea lights

Love these little bells, although not sure if anyone would come to 'serve' me!


Remember when you could get these everywhere? Now I feel old...

I love beautiful jars, these would make lovely gifts, full or empty.

Flat white, and the best babycino ever (with marshmallows and a chocolate coated snake!)

A stroll to Subiaco farmers market


A few weeks back in Perth,  we sauntered down to Subiaco farmers markets on a Saturday morning. I love these markets, I've been a few times when I've been in Perth on holiday.  It's set up in the grounds of Subiaco Primary School, a picturesque little school with the traditional old buildings.

Organic dog biccies!

The market is so well organised compared with some I've been to in Sydney, and you could easily buy everything you need to feed your family for the weekend, or the week for that matter. 


Beautiful loaves


Incredible range of local mushrooms


A chai stall


A french patisserie stand

Everyone is welcome!

Persimmons
My first persimmon experience. I can't say I'll be buying this fruit regularly - I didn't enjoy the soapy aftertaste at all.
Kohlrabi - I've never seen this before, quite intriguing


This was the most sumptuous almond croissant - filled with light almond cream. It meant that I couldn't do my normal habit of dipping into my coffee, but it was such a treat that I didn't mind at all.

We bought bags and bags of fruit and veggies. Not sure why I didn't take more photos of all the gorgeous produce. I suppose that's what happens when you are carrying groceries and looking after a toddler. The prices were so reasonable, and I love that you don't have to re-bag everything in order to take it to a check out.

They also do an incredible trade in breakfast. Our coffee was pretty good, but there were also pancake stalls, bacon & egg rolls, all sorts of muesli on offer, fresh juices, chai.  Well worth a visit if you're a Perth local. Watch out for recent Masterchef evictee Arena - she was manning one of the stalls whilst I was there.

Friday, June 10, 2011

Baked spiced quinces & vanilla ice cream


I'm a bit obsessed with quinces at the moment. They are old-fashioned and they taste it too. A denser yet slightly tarter pear-like fruit, but I also find myself thinking that comparing it to a pear is unfair. They definitely have their own personality, and its slow, very slow. These fruits need to be cooked for hours and hours, maybe why they have fallen out of favour in our hyperpaced world.


In the temperatures that Sydney has been enjoying recently (think it went down to 8 degrees or so last night, quite cold for us, and only 14 during the day) I'm more than happy to stay at home and let the oven heat up the house. Especially when that oven is full of gorgeous spices that then permeate every room.  This recipe really lends itself to a day like today, and I'm happy in the thought that I'll have so many quinces to eat in the next few days. Each spice really pops in your mouth, the quinces carry so much flavour.


This recipe is courtesy of my friend Alice Nettleton, and she is even more infatuated with quinces than I am. So much so, she has named her catering company after them, Quince catering. Thanks Alice for this stunning recipe.

Ingredients:
3 large quinces (around 500g each)
3 cinnamon sticks
3 star anise fruits
1 Tbs honey
1 vanilla pod, cut in half
5 cardamon pods
1 tsp olive oil
1 pinch sea salt
1 Tbs lemon juice
1 cup white wine

Method:
Pre-heat the oven to 150 celsius.
Core and peel the quinces, then cut into halves or quarters.
Place the quinces into a large baking tray lined with baking paper, and then drizzle the lemon juice over the fruits to stop discolouration.
Scatter over the spices, then pour the wine, honey and olive oil. Finish the dish with a sprinkle of sea salt.
Cut a piece of baking paper to cover the baking tray, then scrunch it up and wet it under the tap. Then flatten out and place over the quinces, then cover the whole tray with aluminium foil.
Bake for 3 hours,  checking the fruits every hour or so. Add extra water to the pan if the fruits are becoming too dry.


Serve on their own with ice cream or creme fraiche, or as a breakfast accompaniment with porridge or pancakes.


Serves 6-8

Wednesday, June 8, 2011

Bread experimentation: Rye soda bread & soup


Baking bread. It's been on my to-do list for ages and ages. Not only is fresh bread the best smell ever, but I always think it would be such a useful skill if you were trying to sell your house. You know, that old real estate advice about baking bread and brewing coffee.  And I'm probably one of those people who would fall for it, hook, line and sinker.


This recipe had less of the scary yeast factor than most (doesn't yummy sourdough just sound like the most complicated waiting game ever...?) so I thought it would be perfect for a first time. Not only that, but it's a free form loaf, no specialist tins required.
I found this one in Heidi Swanson's lovely book, Super natural every day.
Half way through this book I realised that she is vegetarian - and that is a huge compliment. Nothing feels like a meal that is meat-free, just beautifully matched ingredients that were meant to be. I loved reading her food philosophy - she makes living as a vegetarian sound so obvious and easy, achieving both a healthy balance and amazing flavours. wow.


Soda bread is something that was readily available growing up in England. It makes the most beautiful toast, nutty and wholesome, and perfect with a touch of good quality butter and nothing more. I've recently had my love of soda bread re-awakened with a great stall at the Manly organic markets on Saturday mornings. Make sure you get there early!

Ingredients:
275g rye flour
225g plain flour, plus more for kneading and dusting
1 3/4 tsp baking soda
1 1/4 tsp fine-grain sea salt
2 cups (475ml) buttermilk, plus more for brushing


Method:

Pre-heat the oven to 205 degrees celsius.
Sift the flours, baking soda and salt together into a large bowl. Then pour in the buttermilk and mix until everything is just combined.  I used my kitchenaid dough hook here - but it's not essential.
Turn onto a floured worktop and knead for 30 seconds, until the dough is even.
Place the dough on a baking tray covered in baking paper. Brush the loaf with buttermilk and then sprinkle with about 2 tablespoons of flour.
Slash the loaf two thirds of the way through on four sides - but do not cut the whole way through.
Bake in the centre of the oven for 30 minutes, then move the bread to the top rack for another 20 minutes. When done the bread with be crusty on the outside and be hollow-sounding.
Cool on a wire rack, and enjoy with lots of good quality butter.